The Ultimate Beginner’s Guide to Growing Cannabis at Home
Growing cannabis at home can be a deeply rewarding experience. Whether you’re looking to cultivate it for medicinal purposes or simply to enjoy its recreational benefits, understanding the basics of cannabis cultivation will empower you to establish a successful garden right in your backyard or even inside your home. This guide aims to provide you with everything you need to know about growing cannabis, from the initial stages of planning to actual harvesting and curing.
Chapter 1: Understanding Cannabis
Before diving into the specifics of growing cannabis, it’s essential to familiarize yourself with the plant itself. Cannabis, often referred to as marijuana or weed, is a flowering plant in the Cannabaceae family. It contains various compounds, including THC (tetrahydrocannabinol), the psychoactive element that produces the "high" experience, and CBD (cannabidiol), a non-psychoactive compound known for its potential therapeutic benefits.
Strains of Cannabis
Cannabis typically comes in three primary strains:
-
Indica: Known for its calming effects, Indica strains are often associated with relaxation and sedative qualities. They are generally favored for evening use.
-
Sativa: These strains are more uplifting and energizing, making them ideal for daytime use. Sativa strains often inspire creativity and social interaction.
- Hybrid: A cross between Indica and Sativa, hybrid strains offer a balanced experience. Depending on the genetics, they can provide the best characteristics of both parent strains.
Understanding Grow Cycles
Cannabis growth can be divided into several key stages: germination, seedling, vegetative, and flowering. Understanding these stages is crucial for a successful grow.
-
Germination: This is the process where the seed begins to sprout. It typically takes 24-72 hours, and involves moisture and warmth.
-
Seedling: Once germinated, seedlings will emerge from the soil. This stage lasts a few weeks and is characterized by the development of true leaves.
-
Vegetative: During this phase, the plant focuses on growing larger and developing leafy greens. It can last from a few weeks to several months, depending on your goals and space.
- Flowering: This is the final stage where the plant begins to produce flowers (buds). It requires a specific light cycle to trigger, typically 12 hours of light and 12 hours of darkness.
Chapter 2: Planning Your Grow Space
Establishing the right environment is crucial for growing healthy cannabis. The first step in planning your grow space is to determine whether you want to grow indoors or outdoors.
Indoor Growing
Advantages of Indoor Growing:
-
Control: You have complete control over the environment including lighting, temperature, humidity, and nutrients.
- Year-Round Growth: You can grow cannabis year-round regardless of the climate outside.
Set-Up Essentials:
-
Grow Lights: LED or HID grow lights are popular choices. Aim for 400-600 watts for smaller spaces.
-
Ventilation: Proper airflow helps plants get the carbon dioxide they need. Consider exhaust fans and oscillating fans for airflow.
-
Grow Medium: Many indoor growers choose soil, but hydrogels, coco coir, and hydroponics are other viable options.
- Nutrients: Invest in quality fertilizers designed for cannabis.
Outdoor Growing
Advantages of Outdoor Growing:
-
Cost-Effective: Utilizing natural sunlight saves on electricity costs.
- Natural Growth: Outdoor plants can grow significantly larger, with the potential for higher yields.
Set-Up Essentials:
-
Sunlight: Choose a spot that gets at least 6-8 hours of direct sunlight daily.
-
Soil: Well-draining and nutrient-rich soil is essential. You may need to amend your soil with organic matter or fertilizers.
- Security: Ensure your grow is located in a discreet area to protect your plants from thieves and unwanted attention.
Chapter 3: Germination and Planting
Successful germination is the first crucial step in your cannabis growing journey. You can germinate cannabis seeds using several methods but the most common are the paper towel method and soaking seeds in water.
Germination Methods:
-
Paper Towel Method:
- Dampen a paper towel and place it on a plate.
- Place the cannabis seeds on one half of the towel, then fold the other half over the seeds.
- Cover with another plate to create a dark setting.
- Check regularly and ensure the towel remains damp.
- Soaking Method:
- Soak the seeds in water for 24 hours.
- Once the seeds sink or show signs of cracking, you can plant them in the soil.
Planting:
Once the seeds have germinated, it’s time to plant them. Use a pot with drainage holes and fill it with your chosen growing medium. Make a small hole approximately half an inch deep and place the seed inside, covering it gently with soil.
Chapter 4: The Seedling Stage
The seedling stage typically lasts 2-3 weeks, during which your plant will rapidly grow. During this stage, it’s vital to maintain consistent moisture and provide plenty of light.
Light:
During the seedling stage, a light cycle of 18 hours on and 6 hours off is typically recommended. If growing indoors, ensure your lights are about 12-24 inches above the plants to prevent burning.
Watering and Nutrients:
Be careful not to overwater your seedlings. Typically, plants need water every few days, allowing the top inch of soil to dry out between waterings. At this stage, young cannabis plants usually get by without additional nutrients, but once they start growing more leaves, you can introduce a mild nutrient mix.
Chapter 5: The Vegetative Stage
The vegetative stage is when your cannabis plants will grow to their full size and require proper care for optimal growth. This is also when you can start to train your plants.
Light:
Continue with an 18/6 light cycle. If possible, use a spectrum of light that promotes foliage growth, particularly blue light wavelengths.
Training Techniques:
Training techniques can help you control plant size and maximize yields. Some popular methods include:
-
Topping: Cutting the top of the main stem to promote bushier growth and more bud sites.
-
Low-Stress Training (LST): Gently bending branches to encourage horizontal growth and even light distribution.
- Screen of Green (ScrOG): Using a screen or net to spread branches out and maximize light exposure.
Watering and Nutrients:
As your plants grow, they will require more water and nutrients. Aim for a nutrient solution designed for cannabis, focusing on nitrogen during this phase. Regularly monitor the pH level of your water and nutrient solutions, aiming for a range of 6.0-7.0 for soil and 5.5-6.5 for hydroponic systems.
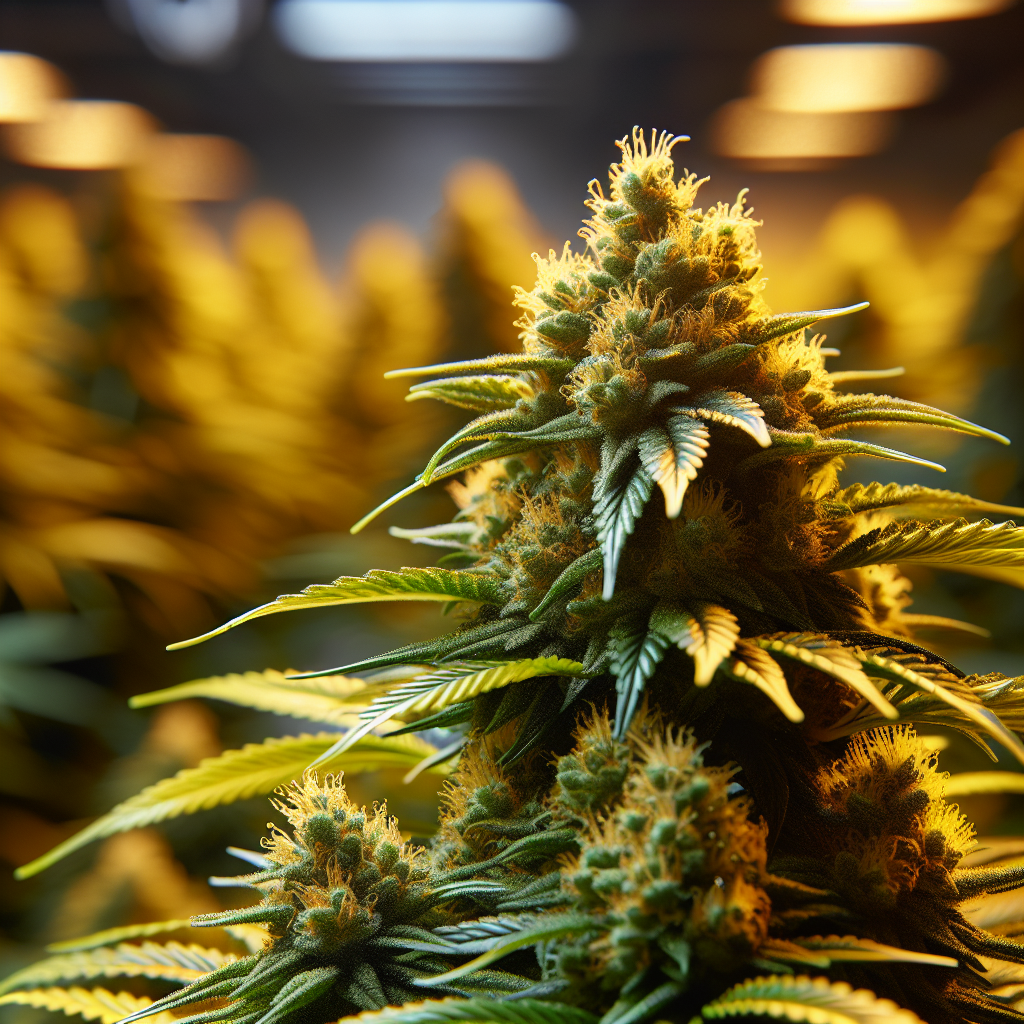
Chapter 6: The Flowering Stage
The flowering stage marks the transition from vegetative growth to producing buds. This stage calls for specific light cycles and nutrient adjustments.
Light:
Switch to a 12/12 light cycle (12 hours of light, 12 hours of darkness) to trigger flowering. Many growers will place their plants in total darkness during the dark cycle to avoid light pollution, which can stress the plants and yield lower quality.
Nutrients:
During flowering, cannabis plants require a different set of nutrients, particularly phosphorus and potassium. Switch to a flowering fertilizer blend to support bud development.
Monitoring:
Keep a close eye on your plants during this stage. Look for signs of pests or nutrient deficiencies (yellowing leaves or curling). Adequate airflow, proper watering, and vigilance are critical to maintaining plant health.
Chapter 7: Harvesting
The moment you’ve awaited—harvesting! Knowing when to harvest your plants is crucial for achieving the desired effects and potency.
Signs of Maturity:
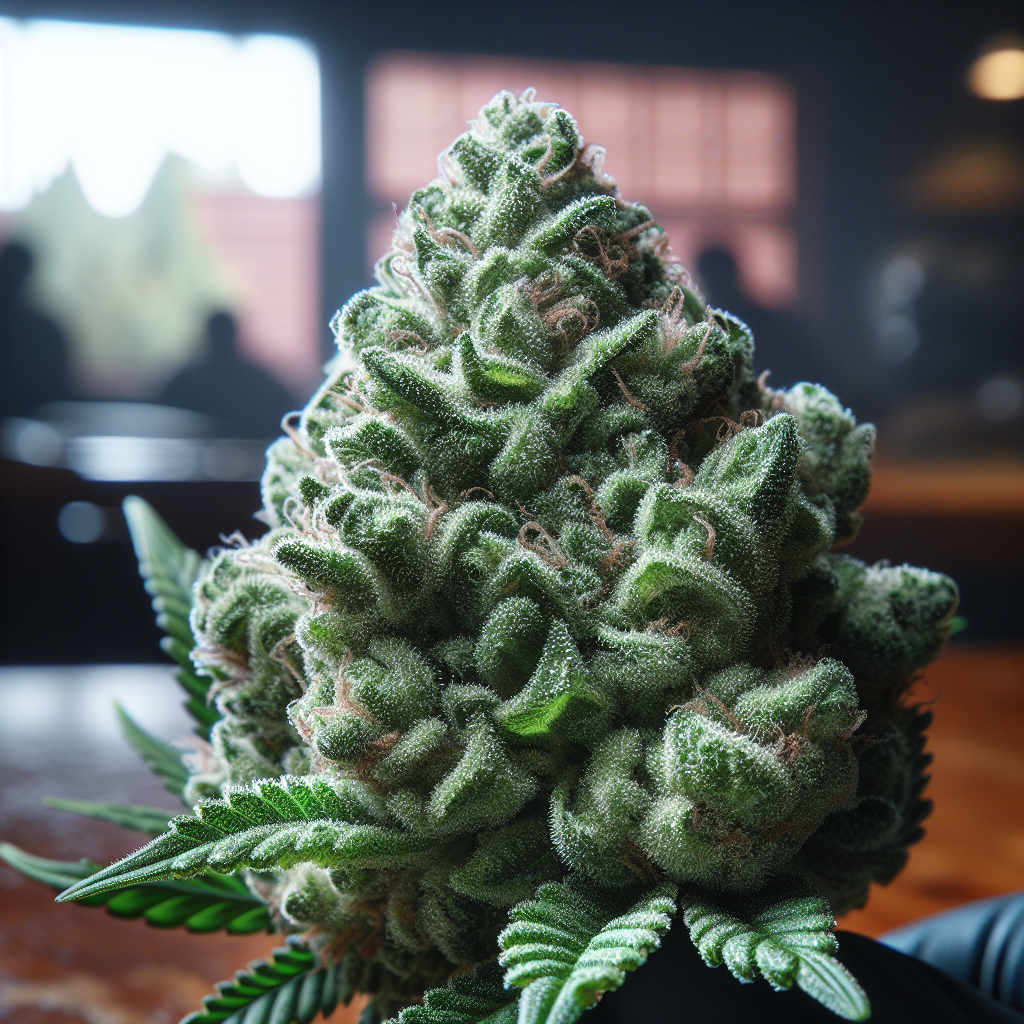
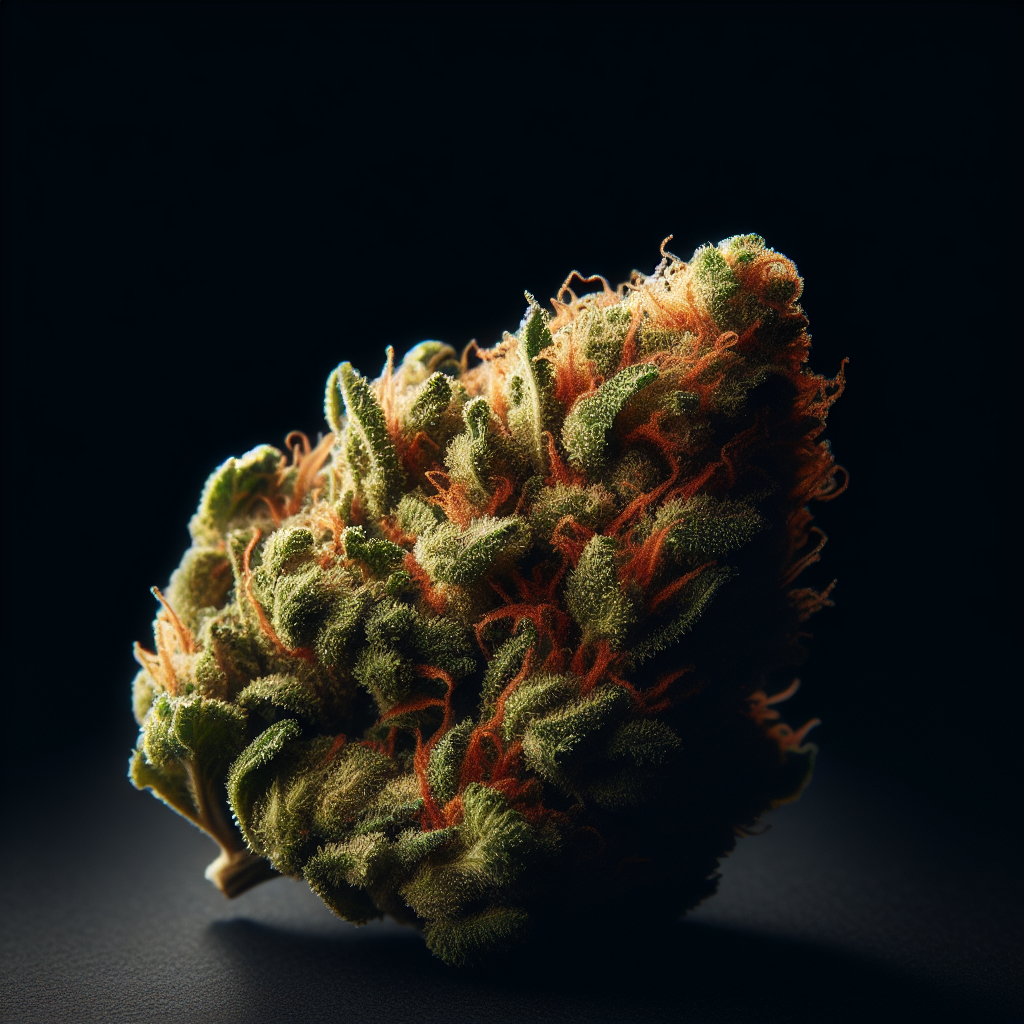
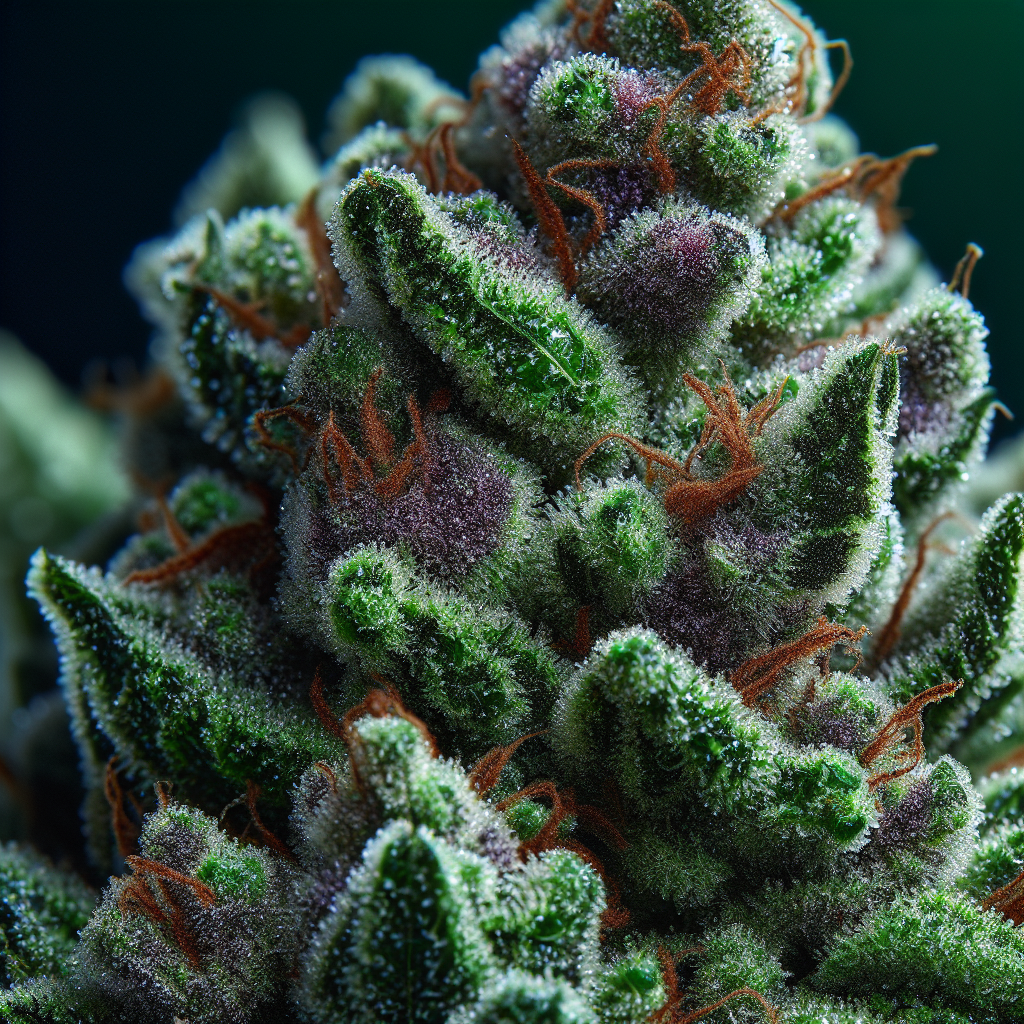
Your cannabis plants are ready for harvest when the pistils (hairs) start to turn brown and the trichomes (tiny resin glands) appear milky with some clear and a few amber-colored ones. A magnifying glass can help you Inspect these.
Harvesting Technique:
-
Cutting: Use sharp, clean scissors or pruning shears to cut the branches.
-
Trimming: Trim off excess leaves and stems, focusing on the bud.
- Curing: Hang the branches upside down in a dark, well-ventilated space for 7-14 days. After drying, store your buds in airtight jars to cure for a few weeks, which enhances flavor and potency.
Chapter 8: Final Considerations
Growing cannabis is not just about the process; it’s about enjoying the journey. With patience, care, and the right techniques, you can create your own supply of high-quality cannabis. Always remember to stay informed about local laws regarding home cultivation, as these vary widely by location.
FAQ Roundup
Q: How much light do cannabis plants need?
A: Cannabis plants generally thrive with 16-18 hours of light in the vegetative stage and 12 hours of light in the flowering stage.
Q: Can I grow cannabis without a grow tent?
A: Yes, you can grow cannabis without a grow tent. Just ensure you have proper lighting, ventilation, and a controlled environment.
Q: How often should I water my cannabis plants?
A: It depends on your growing medium, environmental conditions, and plant size, but generally, water when the top inch of soil feels dry.
Q: What are the most common mistakes made while growing cannabis?
A: Some common mistakes include overwatering, inadequate lighting, and nutrient imbalances. Keeping a close eye on your plants and adjusting as necessary will minimize errors.
Q: How long does it take to grow cannabis from seed to harvest?
A: The entire process can take around 3-5 months, depending on the strain and growing conditions.
Q: Is it legal to grow cannabis at home?
A: The legality of growing cannabis varies by location. Always check your local laws before planting.
Q: Do I need special fertilizer for cannabis?
A: While you can use general organic fertilizers, it’s beneficial to use nutrients formulated specifically for cannabis at various growth stages.
By following this guide, you can confidently embark on your cannabis-growing adventure. Enjoy the journey, the learning experience, and, of course, the fruits of your labor! Happy growing!